Because hacking is fun, and I will look for any excuse to avoid my thesis during a snow storm
How to bend modern technology to perform exceptionally.
Preface
Well, here will reside my first attempt at a bonafide blog post.
I have decided that the main purpose of this site will be to document little side projects I complete and problems I manage to solve at home, work, hobbying, and in general.
Many of the posts will probably come out merely as a culmination of links and research that I have done and mashed toegether. For me that provides a convenient place to go back and find resources without digging through my gargantuan pile of semi-organized bookmarks.
I will almost certainly not implement commenting because I do not write this to solicit an opinion. I also do not claim in any way to be an authority on any topic(s); In fact I am purely a hoobyist who utilizes these freely available tools and resources only to further my own knowledge. If you do find my writing useful please cite me appropriately.
Getting to it
So, without further ado, I will now present you with a description and guide as to how I set up my new 3D printer and an Octorpint server running on a Beaglebone Black to control it over the network. This is probably going to turn out more lengthy than I intend so I will break it up as is commensurate with the content and my time.
3D Printer Choice and Initial Setup / Configuration:
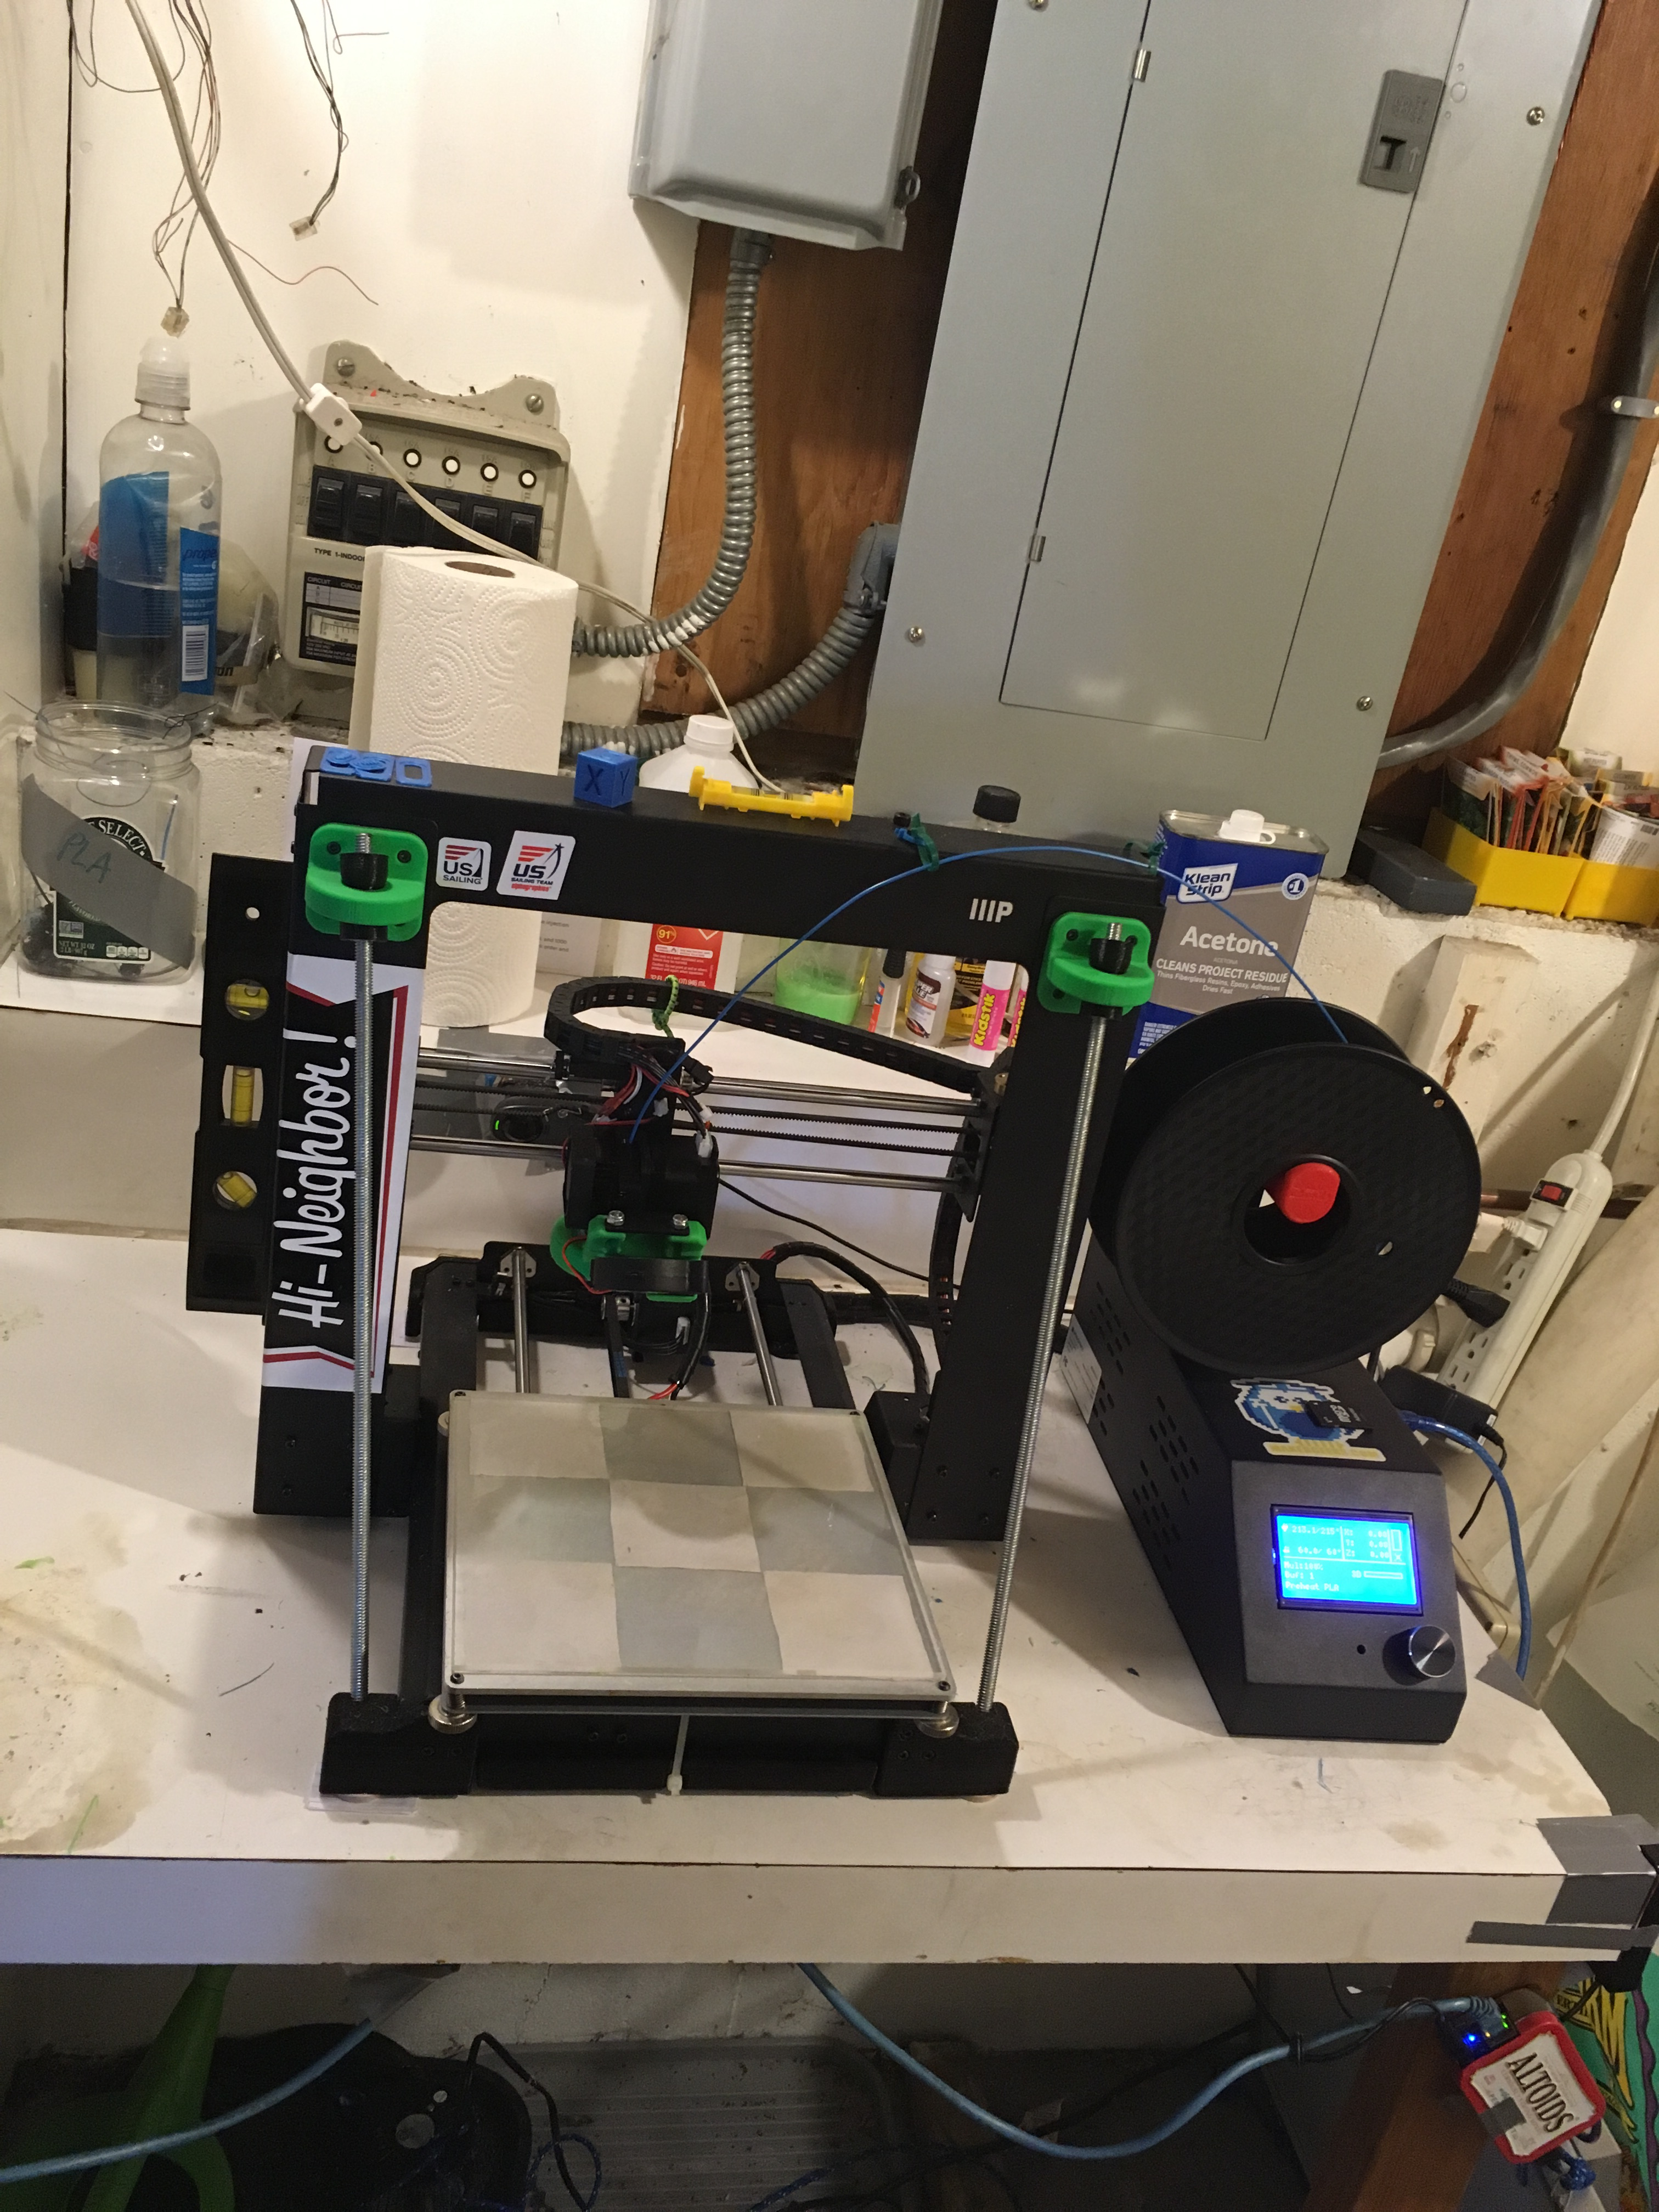
I really wanted a 3D printer for Christmas, and thanks to the Amazon gift card gods and many generous donations gifts from family and friends I was able to purchase a Monoprice Maker Select v2 (I think, version numbers are sketchy when dealing with rebranded Chinese stuff. This is a Monoprice imported and rebranded verion of the Wanhao Duplicator i3). I decided on this model because it has all the relevant features, a large community for support and advice, and an unbeatable price at $330.
During my primary research phase I did a lot of reading (as one does). Before taking the plunge I came to the conclusion that although this model requires some tinkering to get it to print optimally, that is infact exactly the amount of tinkering I was looking for in the hobby. I like to solve problems, but nobody wants a headache. A headache is what you may get with some of the other, cheaper kits out there. This printer comes basically assembled and ready to print out of the box. This serves to get you going and then as you gain experience little issues become apparent and give you managable things to tweak. This produces more of a ramp than a wall in terms of learning “curve”.
There were some other candidates: the Monoprice Maker Select Mini, genuine Prusa i3, factory Wanhao Duplicator i3 Plus (refresh of this model), basically anything in the $250-$500 range that had a Cartesian geometry and was not a total turd. The deciding factor for me really was the community and documentation. There are alot of i3 clones out there, but I think that the information is so readily available for this specific printer that it just makes sense, there are probably 10,000 of these things in active use.
Disclaimer I am a self-proclaimed FLOSS advocate, user, and supporter
I opted for the v2 over the Plus because I liked the idea of an external control box. If the power supply does ever go up in flames it is not directly under the bed like the newer model. Additionally there is plenty more room for mods: I plan to add some relays to control lighting and power via the Beaglebone, and eventually mount the Beaglebone itself into the control box too (right now it is mounted on the underside of the table the printer sits on in my boiler room). Finaly, the actual printer hardware specs are basically identical between revisions and I couldn’t justify an extra ~$100 just for the relocated controls when I could allocate those resources to buy a few spools of filament or spend it on some of the mods required by both versions.
Filament
Speaking of filament, I bought and will continue to buy mine from MakerGeeks. They make it themselves in the USA to a very high standard, and have fantastic prices. I opted to get the limited time grab bag for $60, which is a fscking awesome deal. I got two spools of ABS and two PLA, you don’t get to choose color but it’s not like I have any specific projects or anything, and you can paint it easily. I ended up with red and black PLA and yellow and green ABS.
When the magic man in the brown truck delivers your printer you open the box (right side up… trust me) and the unit comes in three pieces that are fully wired together. This means you have to take some care to get it all unpacked and oriented correctly. Simple instructions (could be a little more descriptive) show you where to insert something like four screws and then you’re off. Pry the factory test print off the bed, level the bed, and print away with one of the four models that come preloaded on the supplied SD card (which is not total and utter crap surprisingly). The files on my card were numbered, but there’s a flat butterfly, a baby elephant, a cushy chair, and a swan, I think in that order, your milage may vary. There is also a PDF manual and an old 15.x EXE version of Cura with the Wanhao profile already setup on the card. I did not use the supplied slicing software because I run Linux on everything. I found a downloadable INI with the stock Wanhao Cura settings somewhere but I ended up creating my own profile from scratch after some trial and error.
Firmware (to be continued)
My main issue turned out to be that the acceleration and jerk are tuned way too high in the factory firmware settings in an attempt to show off how fast this machine can print, to the detriment of print quality. The test prints all print well and at decent speed with the supplied profile but I was less successful when trying to print my own designs or things I downloaded from Thingiverse and elsewhere.
After you burn through the included “10 m” (more like 10 ft) of filament you will inevitably have some work to do. This is where all that great community documentation comes in. I have found this to be the best starting point for this printer. You will most certainly want to print up some parts to beef up the rigidity of the frame. I printed the Z braces in green ABS and black PLA.
Tools
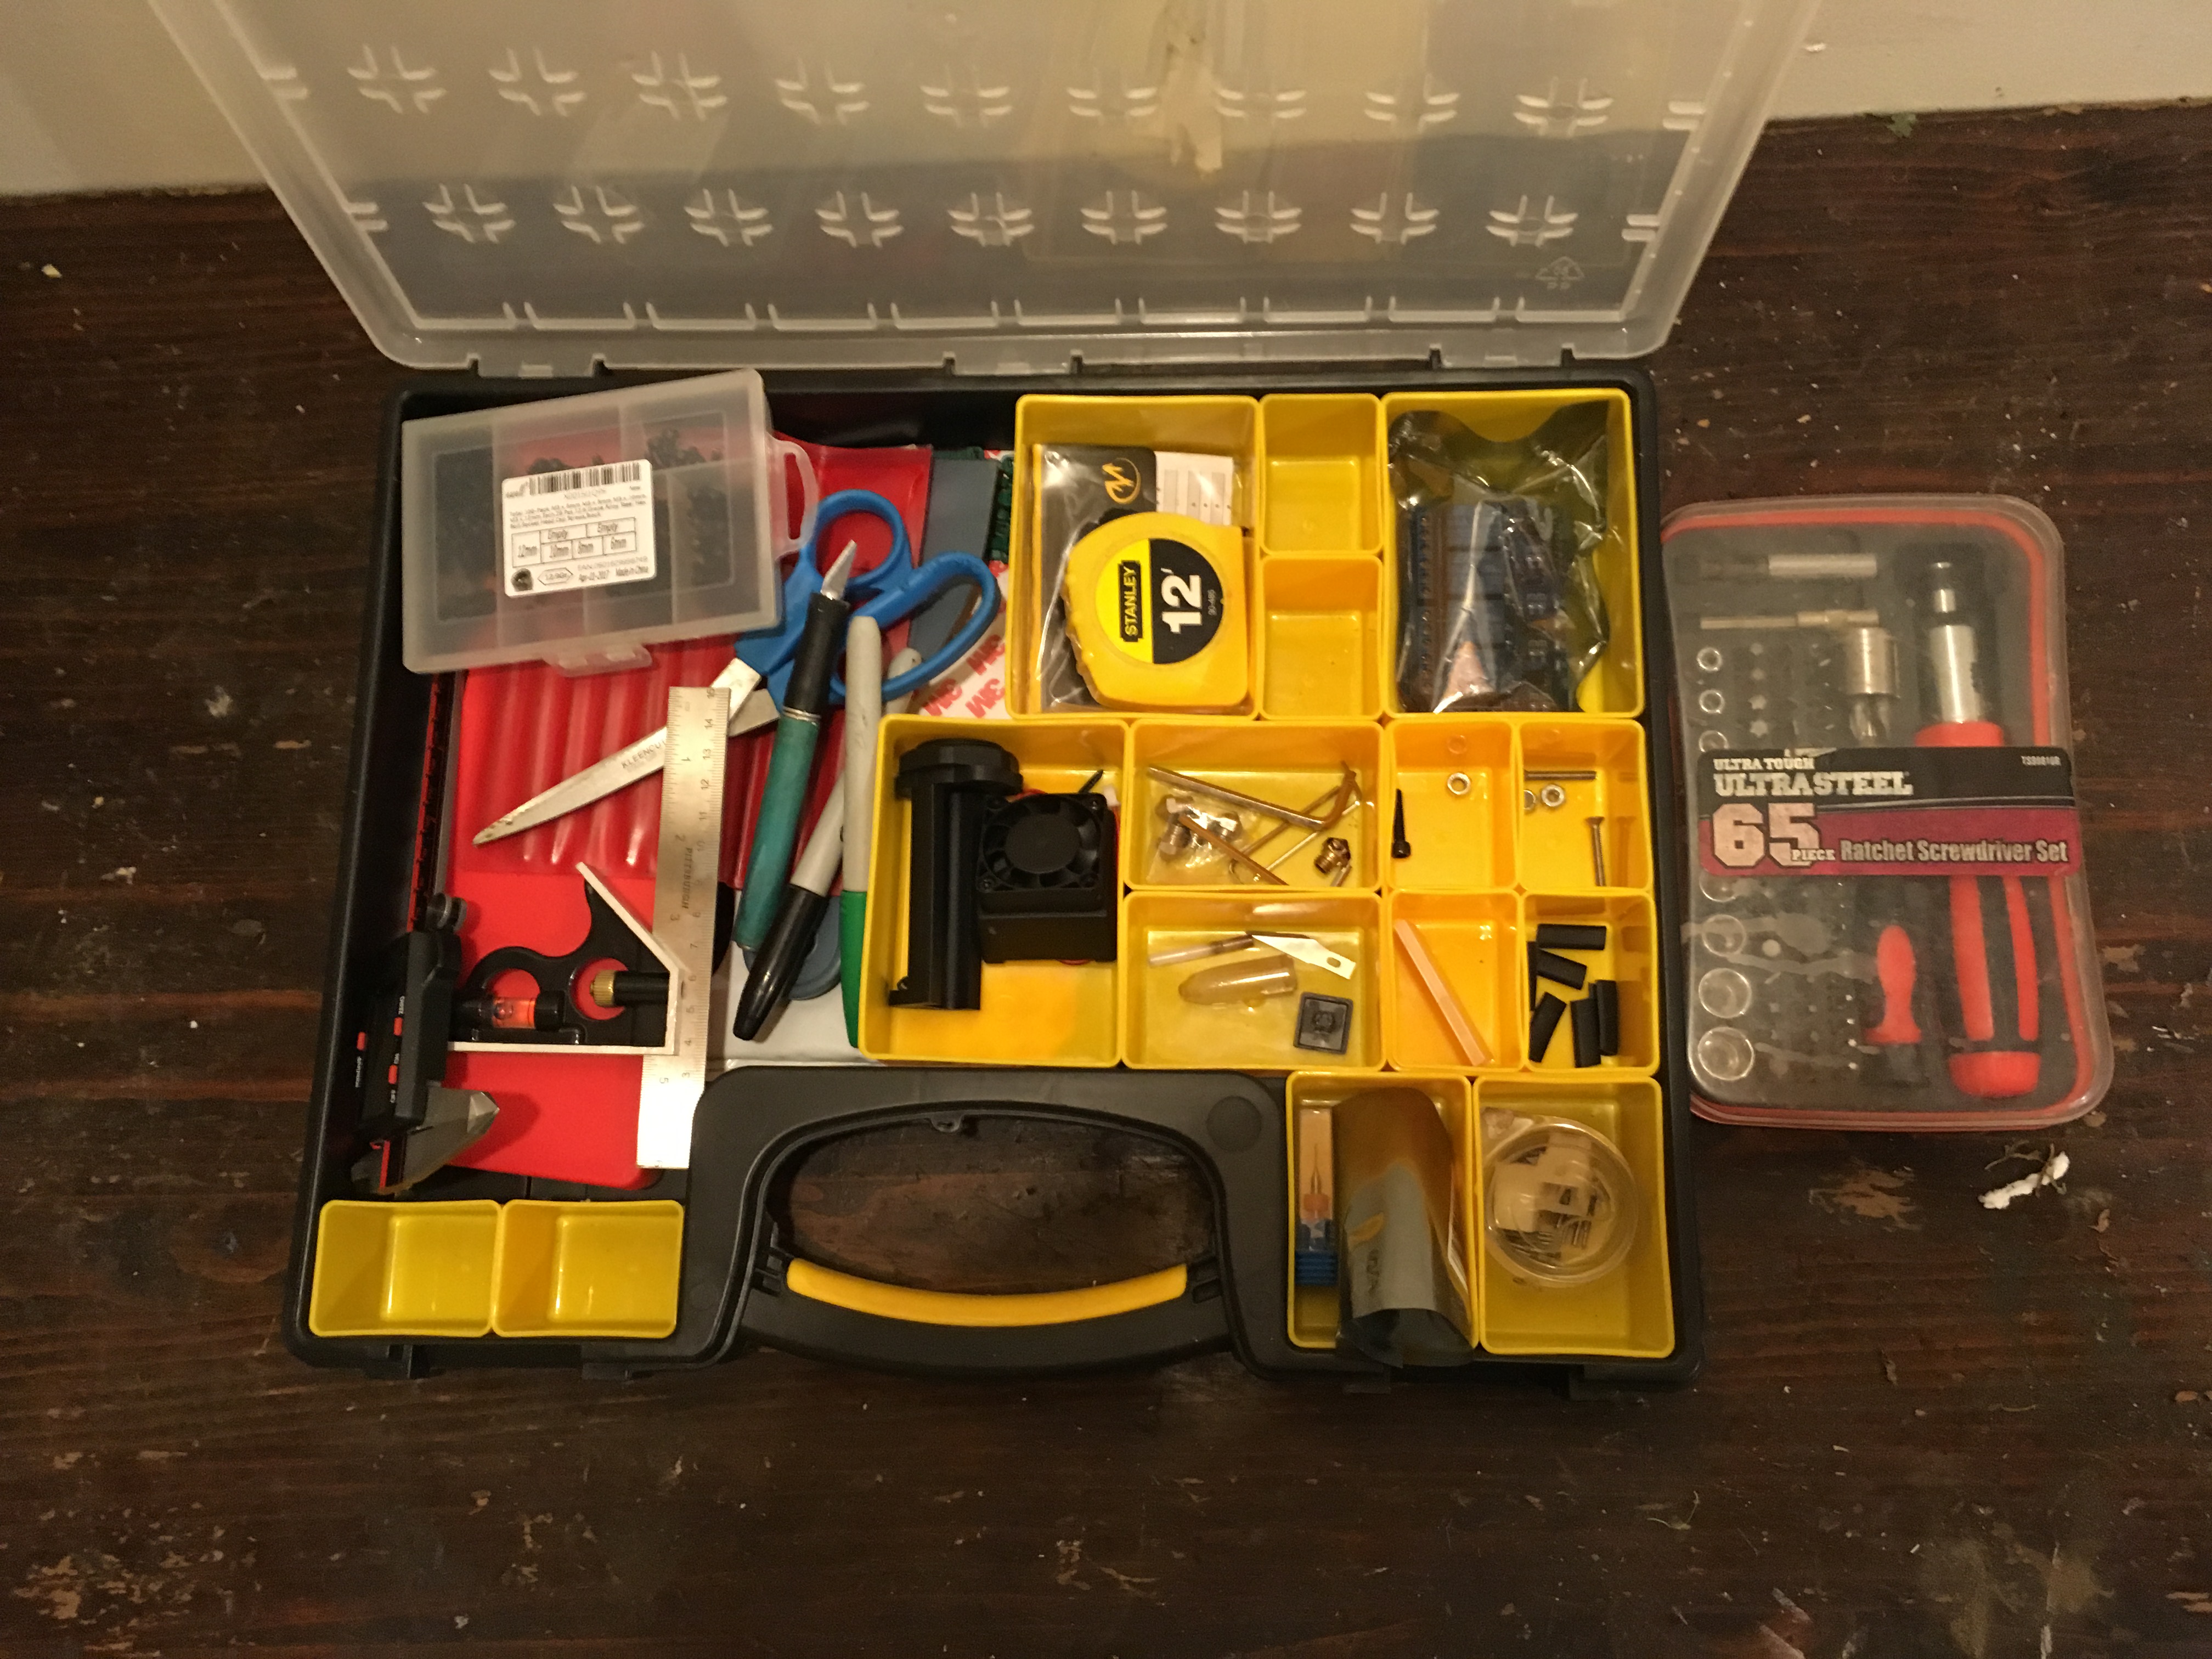
You will want some extra tools too, namely a small keychain level to check all your guide rods and frame alignment (and the table the printer is on… my table is horribly off kilter and I had to compensate with some cedar shingle wedges on the two front feet), Xacto knife, CA glue, zip ties, acetone, rubbing alcohol, and certainly some metric hex drivers to supplement those included. I have found that the knockoff BuildTak build surface is sticky enough for both PLA and ABS as long as you wipe it with isopropyl first to remove any grease or residue.
Little Issues
Stock Cooler
The stock fan shroud does pretty when you’re first getting started. I have printed the DiiiCooler though and holy mackeral has it helped with many issues. Initially I just removed the left screws from the stock fan shroud and cocked the fan to point more directly at the print head as suggested elsewhere. This helped and was better than the standard configuration but a radial cooler like the Diii is better still than that. The only downside that I have found using the Diii cooler is that it occludes your view of the print head which makes seeing issues from the webcam and correcting them ASAP a little more challenging, but those issues are fewer with the new cooler anyway.
Bed Surface
I later found out that prints can adhere too well to the bed, especially ABS at high temperatures, and they may or may not bond together completely. This will result in you having to tear off all that build surface and get the adhesive underneath off too… and this task my friends is a 100% guaranteed total pain in the ass or your money back. I would suggest that if this happens to you, or you have to replace the build surface for any reason, that after you get all of the old build surface and glue off of the aluminum bed now is probably the best time to order yourself a borosilicate bed and silicone thermal pad because you certainly do not want to struggle with that hell goop ever again.
For anyone looking to remove that helacious goop from their aluminum bed, I tried isopropyl, acetone, and Goo Gone with varying degrees of success. Goo Gone with the bed turned to ~68°C worked best. If you get the bed too hot the glue actually bonds better and becomes even more difficult to remove (I mean, it is designed to stay stuck while you are printing so not too big of a surprise). Don’t use any metallic scrapers (like the one supplied with the kit that you already tried) because it will gouge the crap out of the aluminum bed (steel > aluminum, thanks Mohs). I used an old gift card to scrape / roll / drag the glue off after letting the Goo Gone set for a few minutes while the bed heated. It took a while and was frustrating but it does all eventually come off.
Y Axis
One of the first “mods” I did was reinforcing the Y axis idler pulley. To accomplish this I just removed the screw holding the front pulley after detensioning the Y axis belt from underneath. Next you take off the nylock nut they use as a spacer. I put a washer on each side of the pulley when reinstalling the screw. You want to thread it in all the way to the frame but leave some space between the head of the screw and the washer, enough to fit a zip tie. Finally you put a zip tie around the screw head and the front of the frame with enough tension to keep the pully from getting torqued and bent out of alignment. There are some nice designs you can print for this purpose and I probably will do that eventually, but for now this seems to be a good hack. The movement of the Y axis is by far the sloppiest on my printer, I am pretty sure at least one of the linear bearings was toast right out of the box as it makes a rough noise, but it works OK. I have also taken to wipinig the guide rods with 3-in-1 oil every once in a while to help remove dust and improve smoothness.
Spool Holder
Most of the pictures you see online have the spool holder mounted atop the X/Z Gantry. This is not the place to put it. If you have any wobble in the frame it will only be accentuated by putting a kilo of plastic way up there and moving the center of mass so high. Mount the spool holder on the control box and use something to guide it to the extruder smoothly (I obviously used more zip ties). Also print a new spool holder (I used this one) when you get a chance if the stock one does not fit well, having a smooth rolling action helps make the extruder fight less and makes everything run smoother.
It’s The End
I am fairly certain that was most of the hardware stuff I had to get out there. There will be some remarks on the placement and setup of the ARM server in the next post but most of that depends on personnal setup and goals. See y’all soon. Maybe?
Stay Tuned for Part 2: Octoprint Configuration
these pages are (for now) in a constant state of adjustment while I get used to this platform, so if something seems different or rearranged, it probably is.