Because one must have network control…
Nearly a year later, here is the second post in the 3d printer - Beaglebone - Octoprint saga.
I hope to cover the software details here because most of the relevant hardware info is covered in Part1.
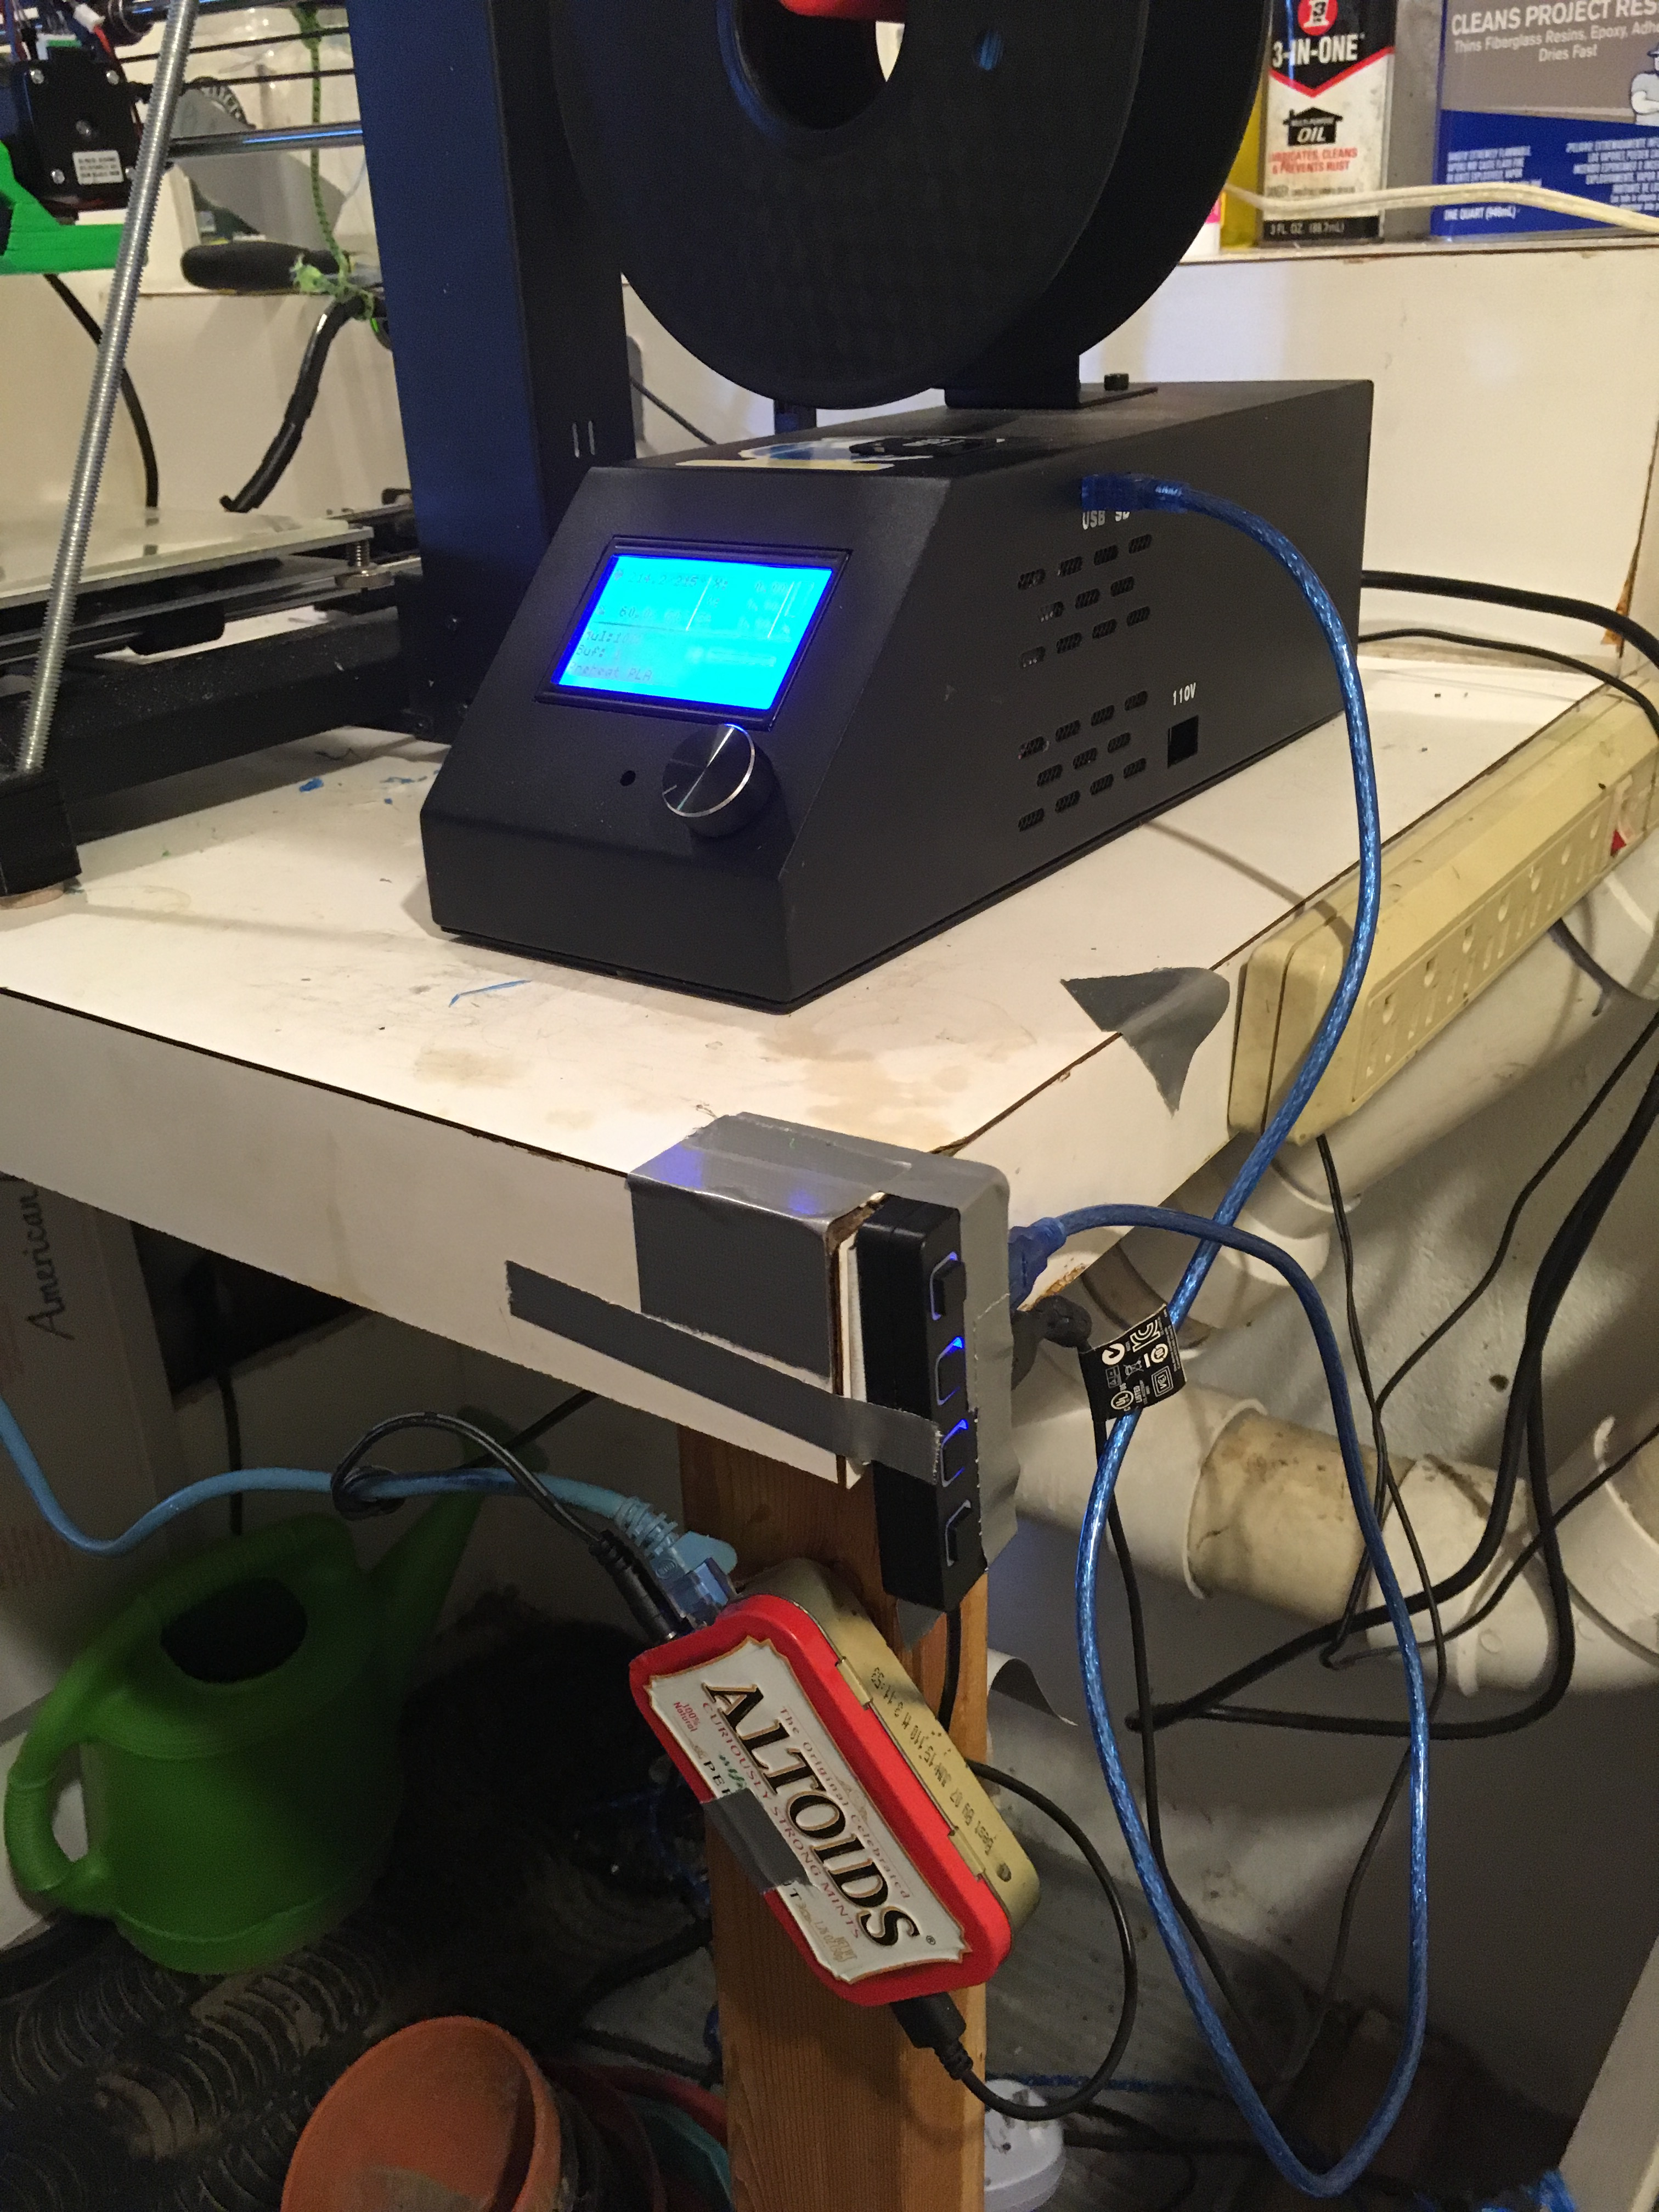
Non Printer Hardware
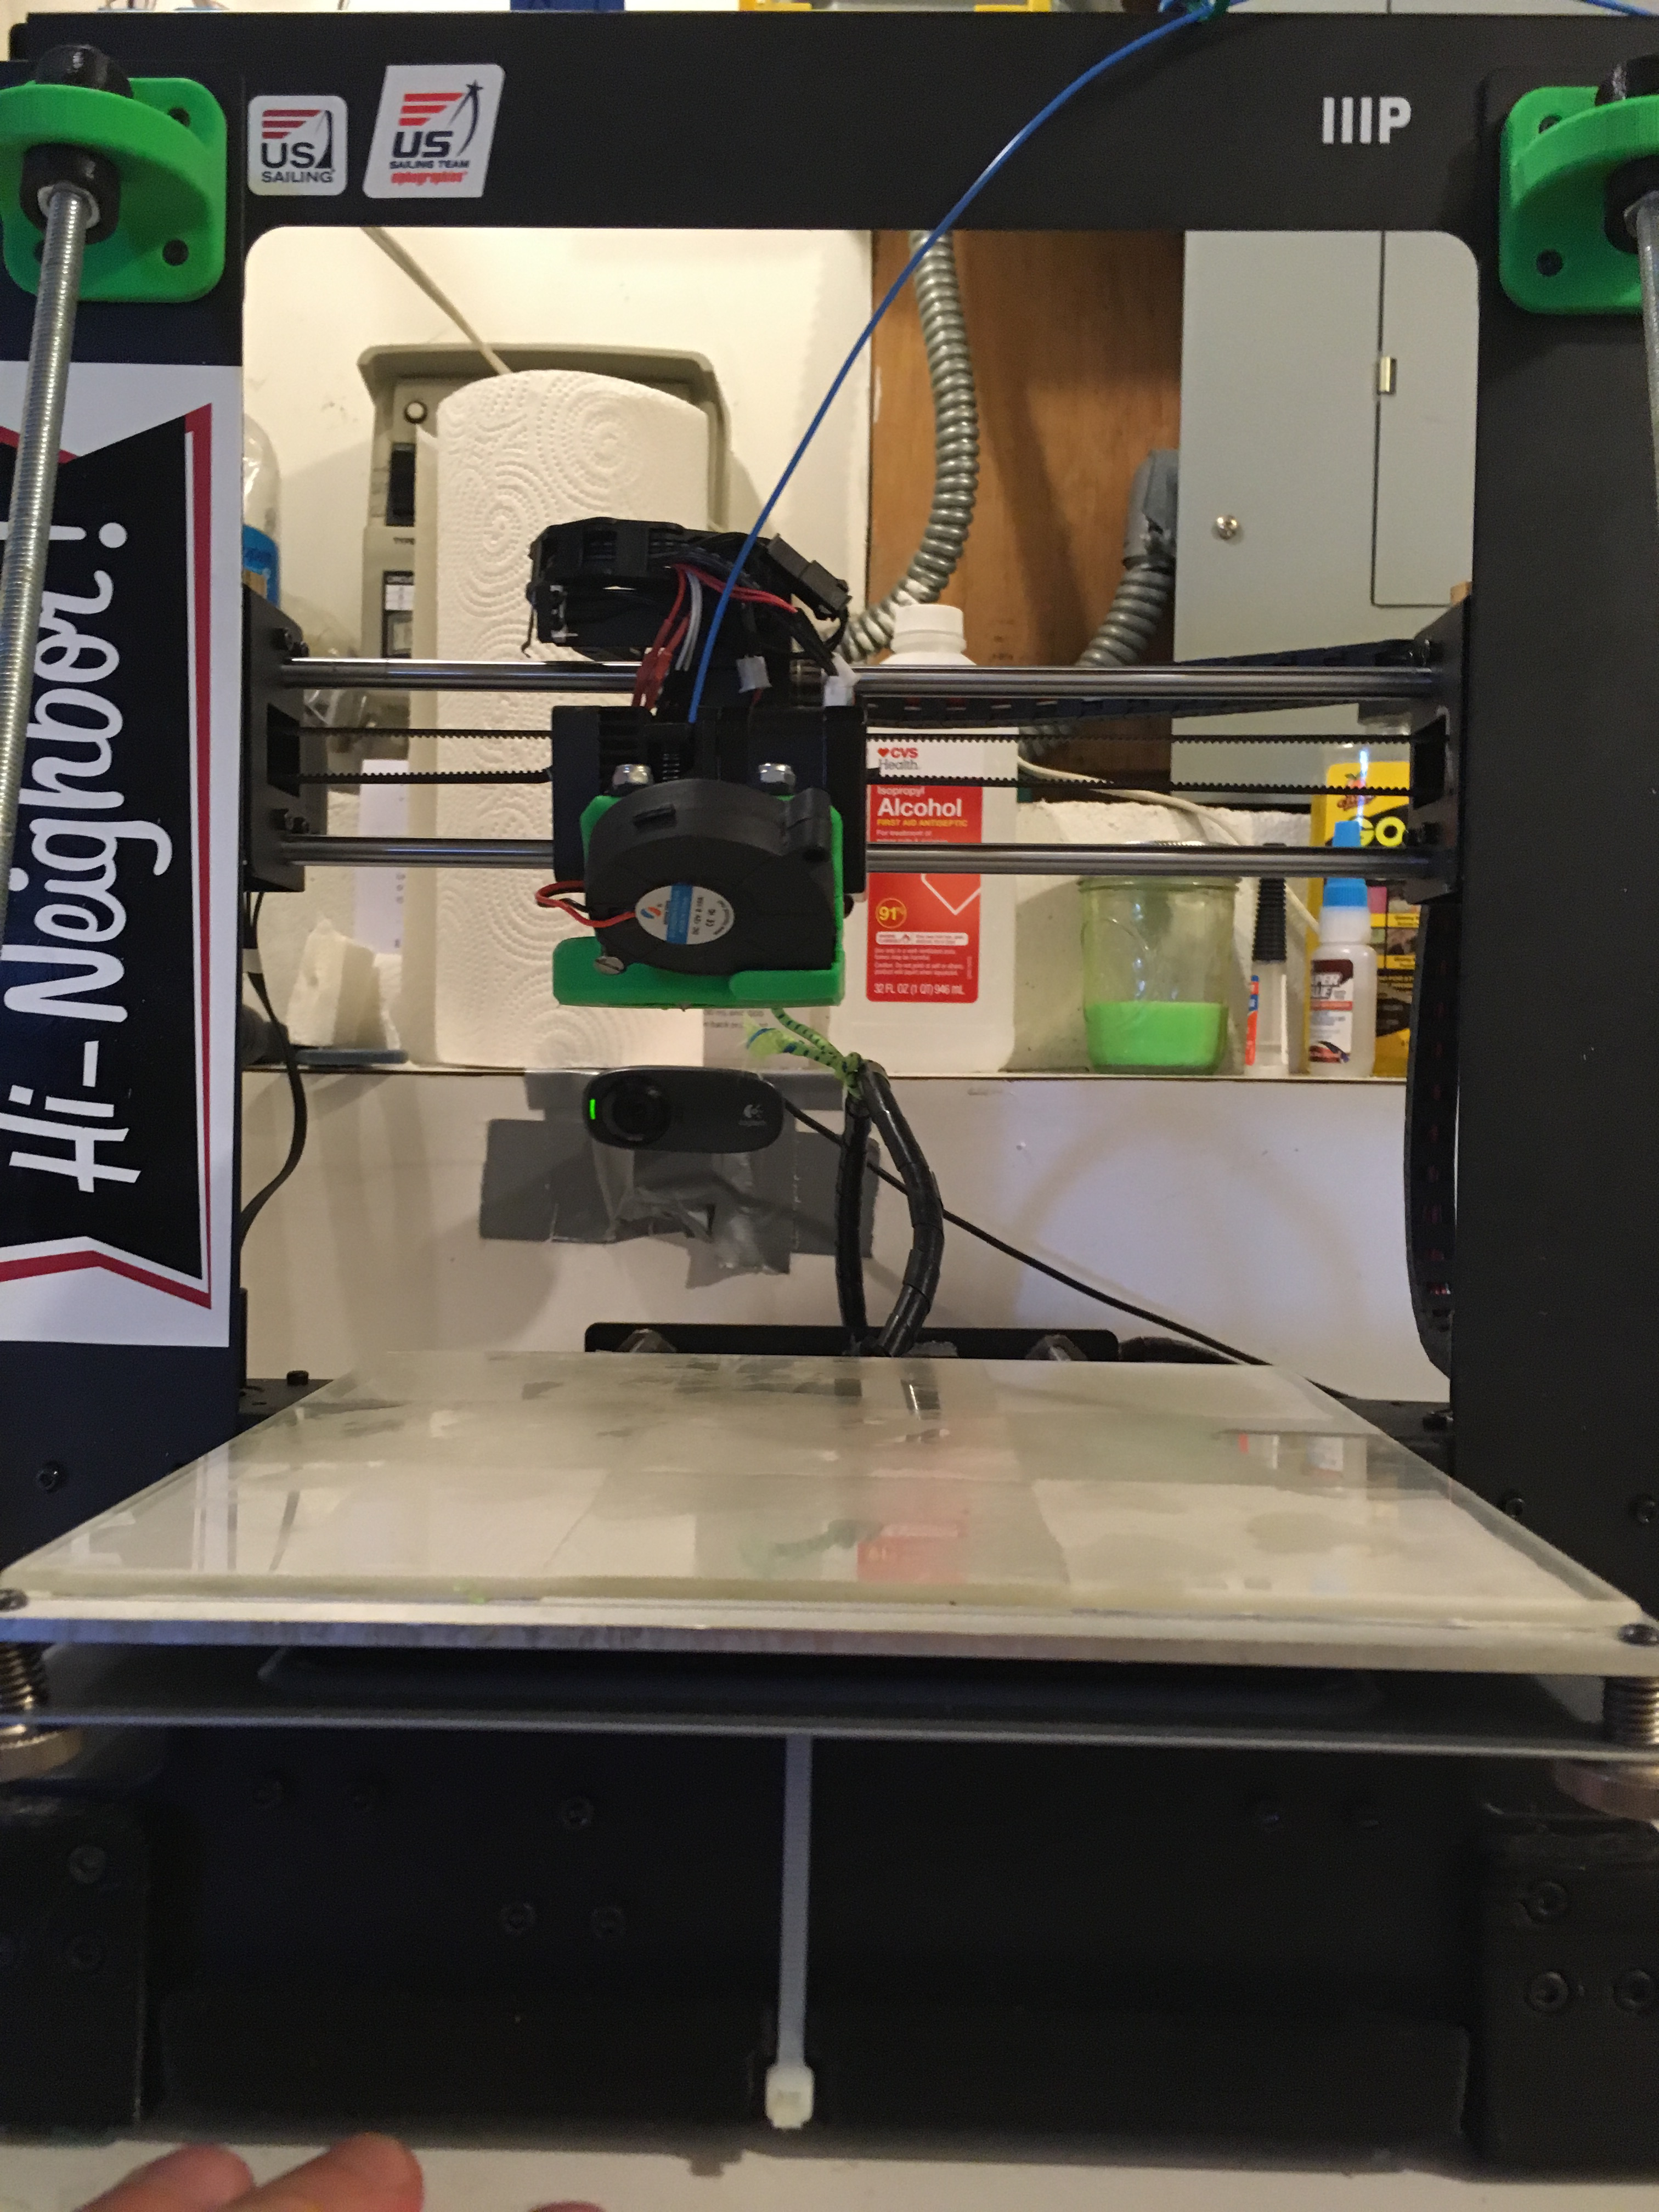
The Duplicator i3 runs a Melzi board with a Repetier based firmware. Octoprint picks it up no problem over USB/TTY with a reasonably modern kernel.
I have had issues with USB connectivity though, and have tried different cables, long and short, and have had the best luck with one that has extra shielding. It sould be an issue with my cheap 4-port USB hub, but I’m not sure. If you suffer random serial dissconnects mid-print it’s likely a cable issue. The worst part about this is that the printer hangs after the last move / command received and does not cool down which can be a dangerous situation. I wish there was functionality within Octoprint to automagically try to reconnect to the printer and kill the hotend and bed after a catastrophic communication issue but am not sure this exists yet.
Beaglebone Black prep
I am using a Beaglebone Black Rev A6. I jumped on the Beaglebone bandwagon early-on; I don’t care that the Raspberry Pi has a larger following. This thing cost me $ 55 in May 2013(14?) and still has the balls to run a full Debian system with some daemons on like 1 Amp including accessories. The A6 is a little crippled compared the newer C and Green revisions of the board, but half a gig of RAM and 2 gigs of eMMC still works for me. I boot and run it off the SD card slot anyway which I will get to. The Beaglebones go for a little more $$ now and still have 512 MB of RAM but increased to 4gb of eMMC with basically the same 1 GHz TI ARM cortex A7 processor (I think, don’t quote me).
Whatever the specs and cost, Beaglebone Blacks (and Greens) are a great RasPi alternative and have a little more capability as a Linux server. The Beaglebones are also lacking a bit in graphics capability compared to the Pi, but for a headless server that is not a factor. When I am running prints serving over the LAN or tunnelled in with VPN or SSH it uses around 3% CPU to control the print and maintain the server connection including the webcam. One resource intensive process is the rendering of the timelapse with FFMPEG, for which I think I have a work around for by compiling some libraries (libjpeg and libgphoto2, libavtools etc.) and not using the precompiled ARM binary .debs.
To get the Beaglebone Black (or Green or whatever other computer you’re using) ready you should at least get an up-to-date copy of whatever OS you want to run. For me this was a Jessie image from the eLinux Beaglebone builds page. They offer standalone and installable versions. I chose the 4 GB standalone version because I knew I would be running it off the SD slot indefinitely due to the small amount of onboard eMMC. If you want to flash it to the onboard eMMC you need to know the available capacity for your board revision so you can use one of the prefab images or load your root onto the onboard flash and everything else onto some other storage. This is not a guide in Linux how-to, but I will tell you how I did it. With the old revisions of the board it’s not practical to use one of the newer and larger prefab images to flash the onboard eMMC. It’s not hard to enable the flasher on a smaller /custom image, and there is documentation to do that. I used the newest Debian Jessie image and dd’d it to an sd card:
$ dd if=beaglebone-image.iso of=/path/to/device
There are multiple ways to achieve this, like if you download a zipped version:
$ xzcat file-i-downloaded.xz | dd /path/to/device
Seems like a problem you can find the answer to if you are reading this. I also frequently use the convenient USB Image Writer included with Linux Mint (my distro of choice that runs my laptop, HTPC, and workstation).
After that boot and disable all the BS extra daemons you don’t need: Apache, NodeJS, any other services that are on by default you don’t want (including X and any login and display managers if you dont need graphics). Make sure to update everything:
$ apt update
$ apt upgrade
before moving on and installing Octoprint.
Octoprint config
Once you get a reasonable server up the Octoprint setup is easy. I followed this guide with minimal modifications.
Webcam
Same as here following instructions for Jessie.
Other plugins
I added some useful plugins, there are a bunch of good ones available. Some I have added are: cost, curaengine, detailed progress, discovery, display progress, eeprom repetier editor, printer stats, filemanager, fullscreen webcam, printer stats, and terminal commands. Lots of great functionality for whatever you want or need.
Success!
Now you have a nice low powered ARM server (or whatever) connected to your 3d printer over USB serial and a webcam to watch the whole process. This is great because you can fully control the printer and check on prints from within your home network without resorting to the infamous sneakernet.
Getting in from the internet
SSH tunneling and forwarding with a hop
You have options here. I have a computer setup with an SSH server running on an obscure port that I forward through my main gateway router because I am a nerd and like to be able to SSH into a machine on my local network if I need to. The reason for not using port 22 is that instead of relying on fail2ban or iptables rules to mitigate the absurd amount of bad login attempts you end up with on 22 those banket attempts never even happen because most bots are not actively probing all ports on potential hosts.
With this setup I can forward the Octoprint webserver over a secure tunnel with a single hop from wherever. I like this because it’s free and not too complicated. The command I use looks something like this saved into script:
$ ssh -p PORT -L 9999:beaglebone.local:5000 -N HOMEIP
This forwards the Octoprint server running on 5000 (default) to local port 9999, on my laptop (haven’t tried it on my phone yet but idk if Apple lets you access locacl ports at all…) and works like a charm. Other solutions at this Stack answer or google SSH tunnel hop.
Alternatives
Another new solution in the form of an Octoprint plugin that interfaces with AstroPrint Cloud seems intriguing, but I kind of like having control over my own stuff. A common theme for me is spending lots of time cobbling together a free solution to avoid messing with third party cloud services. AstroPi is another project that I investigated briefly at the beginning.
The end
That’s it for now, I hope you found this helpful. Check back for more on my 3d printing sagas and other home networking schtuff.